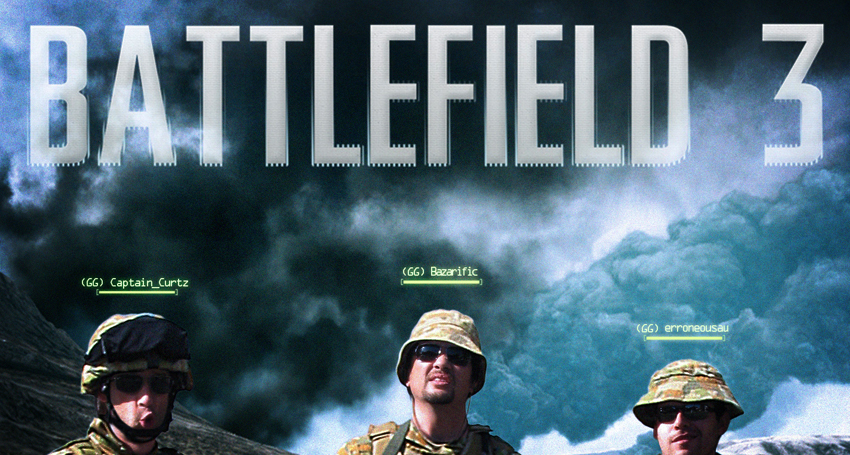
Fun with Photoshop ~ Photo Mashup Poster
Compositing a poster image for Grafix Garage’s squad team in the online first-person shooter game Battlefield 3

INTRODUCTION
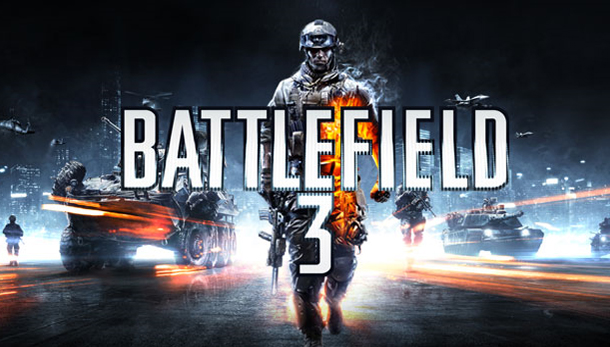
Battlefield 3 is a first-person shooter video game developed by EA DICE and published by Electronic Arts. It is a direct sequel to 2005’s Battlefield 2, and the eleventh installment in the Battlefield franchise. Source ~ Wikipedia
The team at Grafix Garage spent a lot of time after hours together in a squad running, driving, and flying around blowing shit up. Obsessed with it.
Like, a lot.
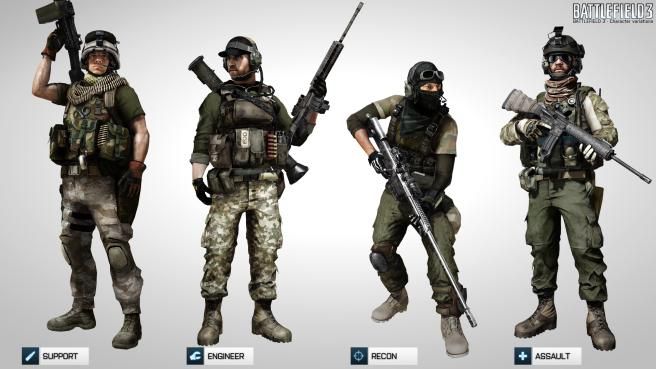
We’d play as different characters with varying abilities; either Support with ammunition, Engineer for repairs, Recon for sniping, and Assault for, well – assaulting people…


PROCEEDURE
Comping the Background Images from within the Game
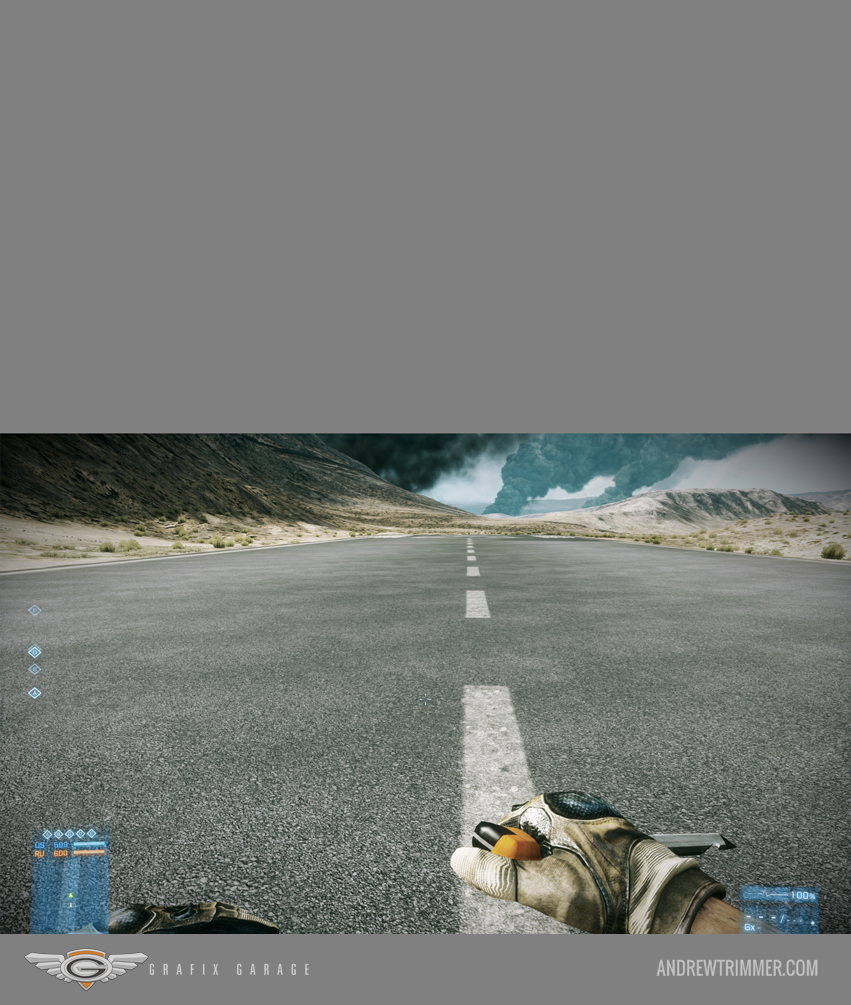
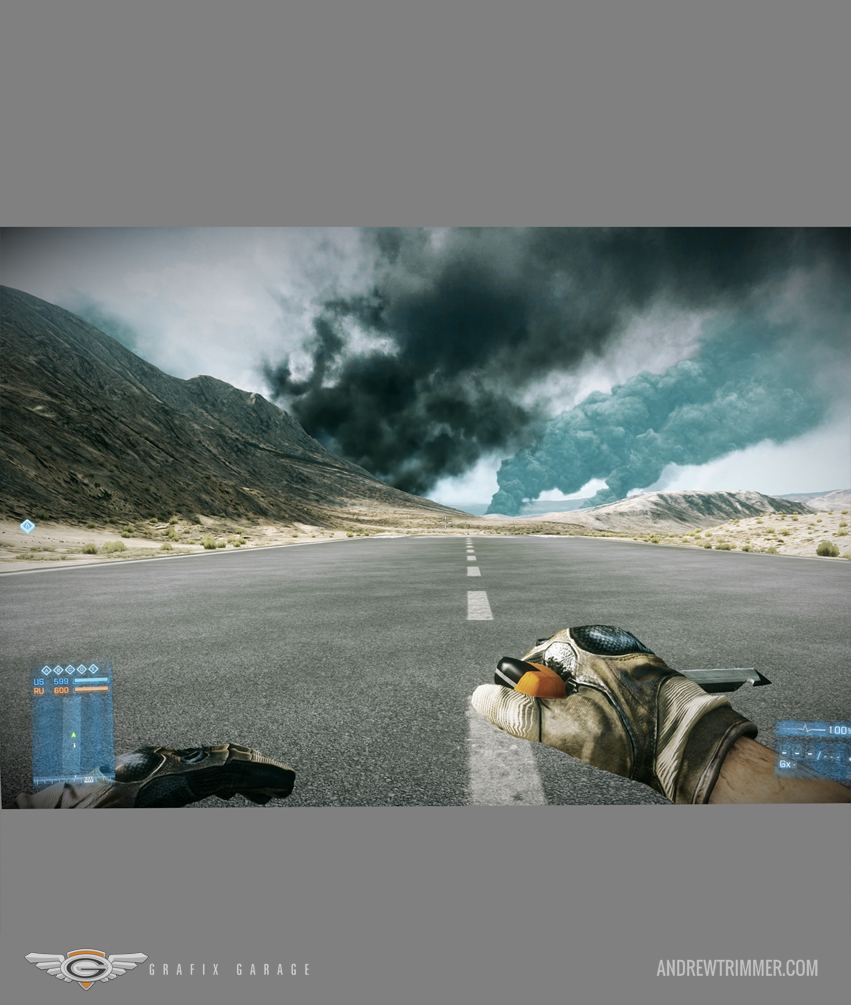
Step 1A. Background
Screen grab images from in-game within the Firestorm map looking down the runway on the US team base. As the game screen is a 16 x 9 horizontal proportion, three views are taken while moving the character to look up. These will make up a vertical portrait format once composited and blended together.
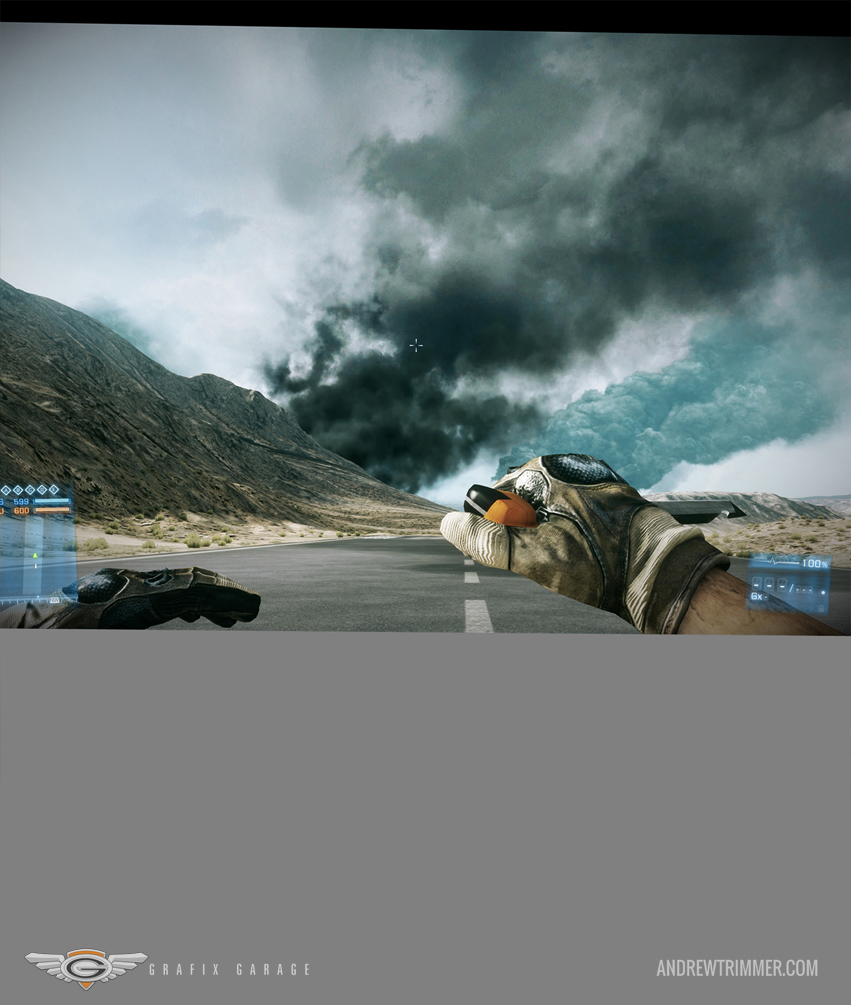
Step 1B.
Screen grab images from in-game within the Firestorm map – middle section.
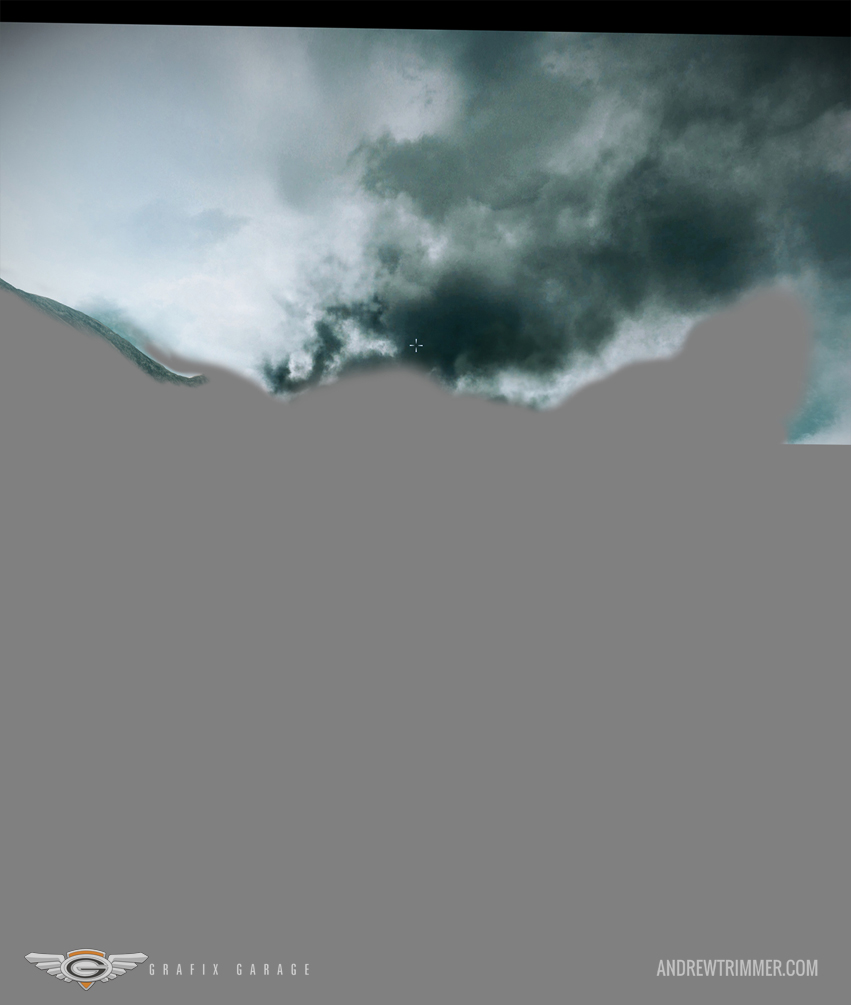
Step 1C.
Screen grab images from in-game within the Firestorm map – upper section.
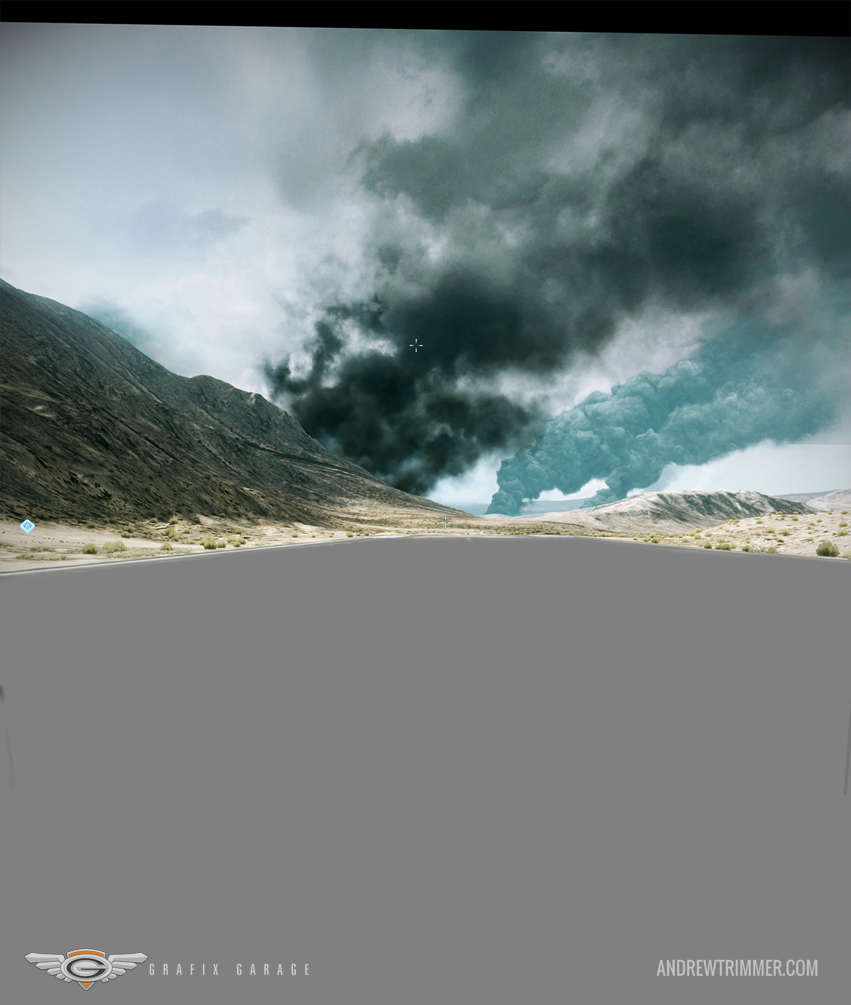
Step 2A. Blending the sections
Blending and masking the upper sky and smoke background areas together – upper section.
Step 2B.
Blending and masking the sky and smoke to middle distance background areas.
Step 2C.
Foreground section added and blended.
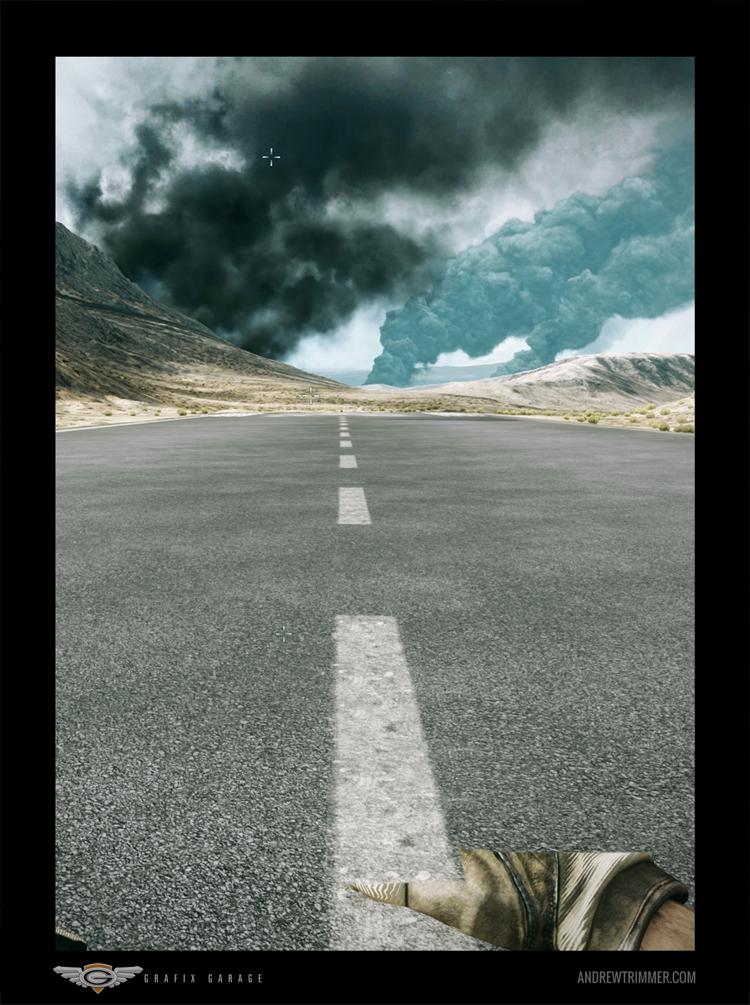
Step 2D.
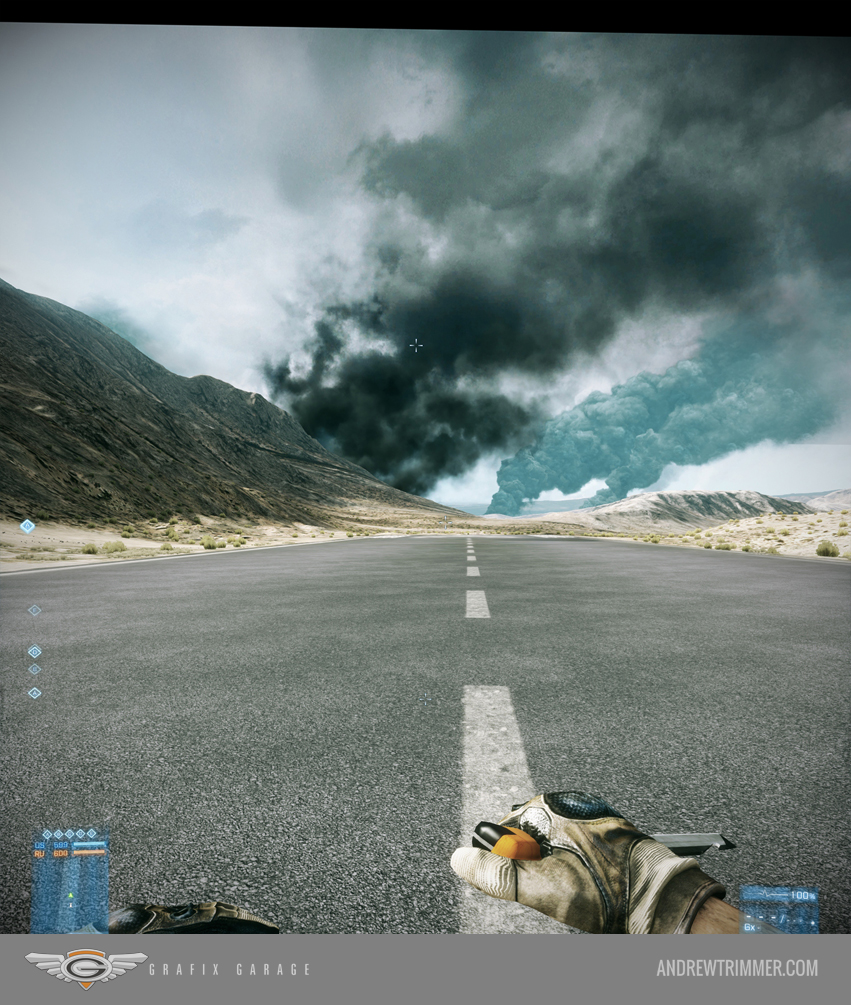
Completed background plate placed within poster composition frame.
PHOTO PLACING AND MASKING
Placing and Masking the Characters
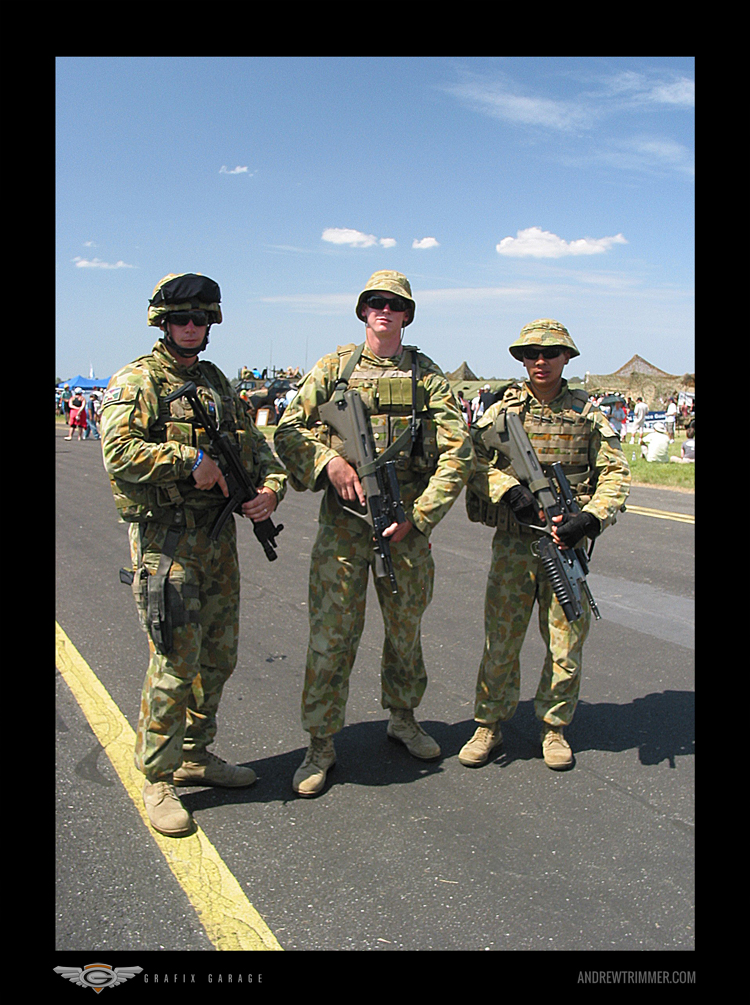
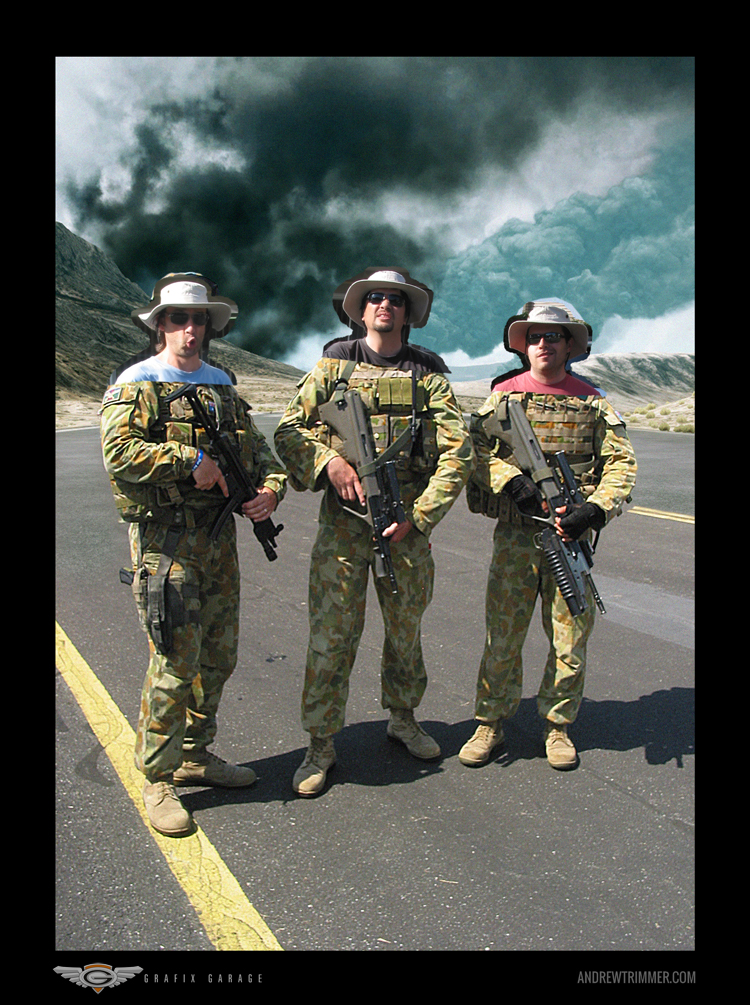
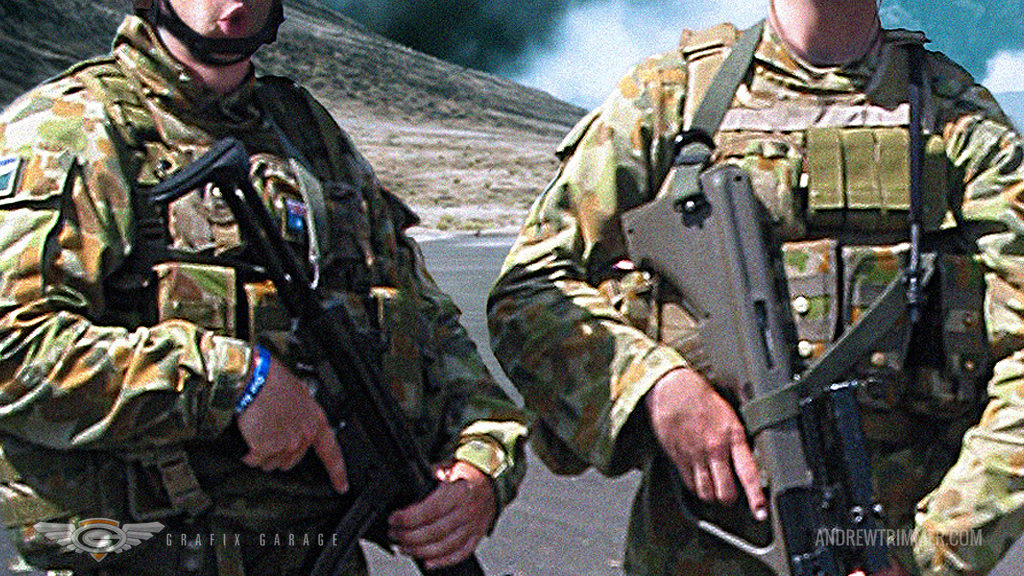
Step 3A.
This image is the base for the three squad members. I took this shot at the October 2008 Amberley Airshow, where these three airfield guards were part of the tarmac display as members of the Amberley-based No. 2 Airfield Defence Squadron (2AFDS)
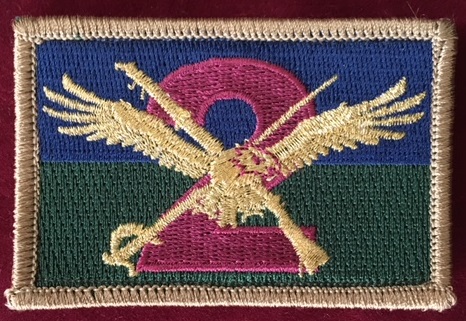
RAAF Air Defense Guard Patch_No 2 Airfield Defense Squadron

Step 3C.
Isolated the three soldiers with tarmac area and masked to reveal game background plate.
Step 3D.
Photographed the three Garage team mates separately in the car park oriented to the approximate sun light direction with fishing hat and sunglasses on to cast similar shadows to match the original photo of the soldiers. Then positioned, re-sized, and roughly isolated the heads.
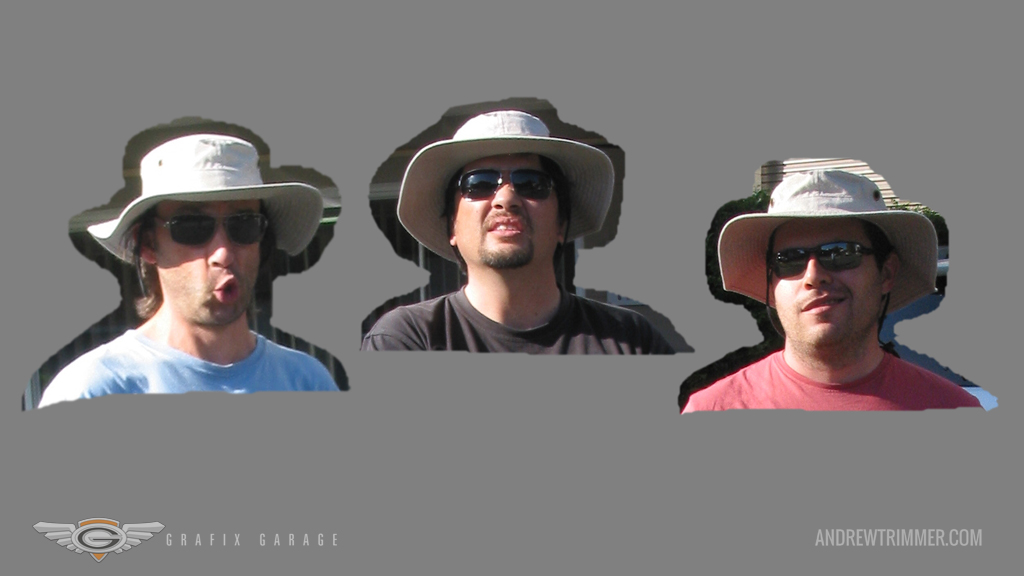
The Three Amigos
Step 3E.
Masked out all surrounding details around the head photos to match the underlying soldier head position.
GRAPHICS AND COLOUR GRADING
Positioning Text and Graphics, and Balancing the Image
Step 4A.
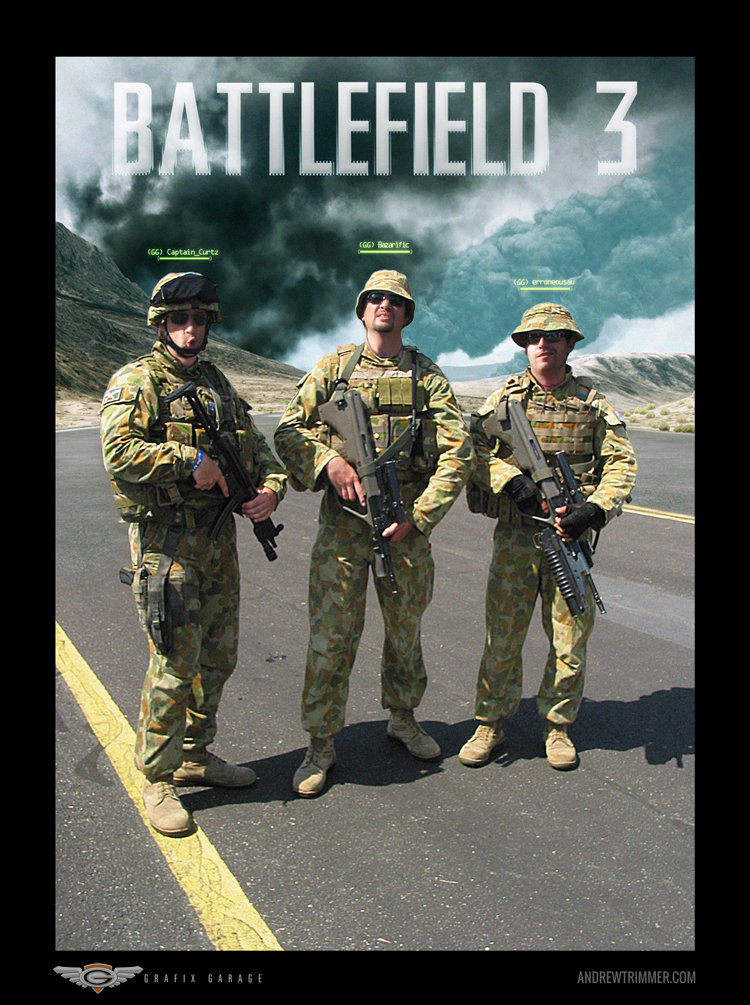
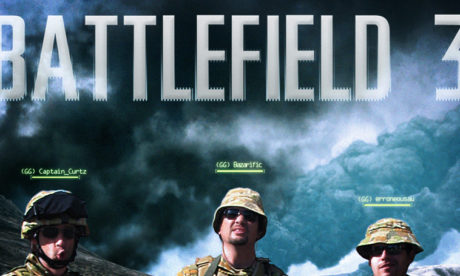
Added the Battlefield 3 Logo and the individual player tags as they appear in-game, with a subtle blur glow behind the text.
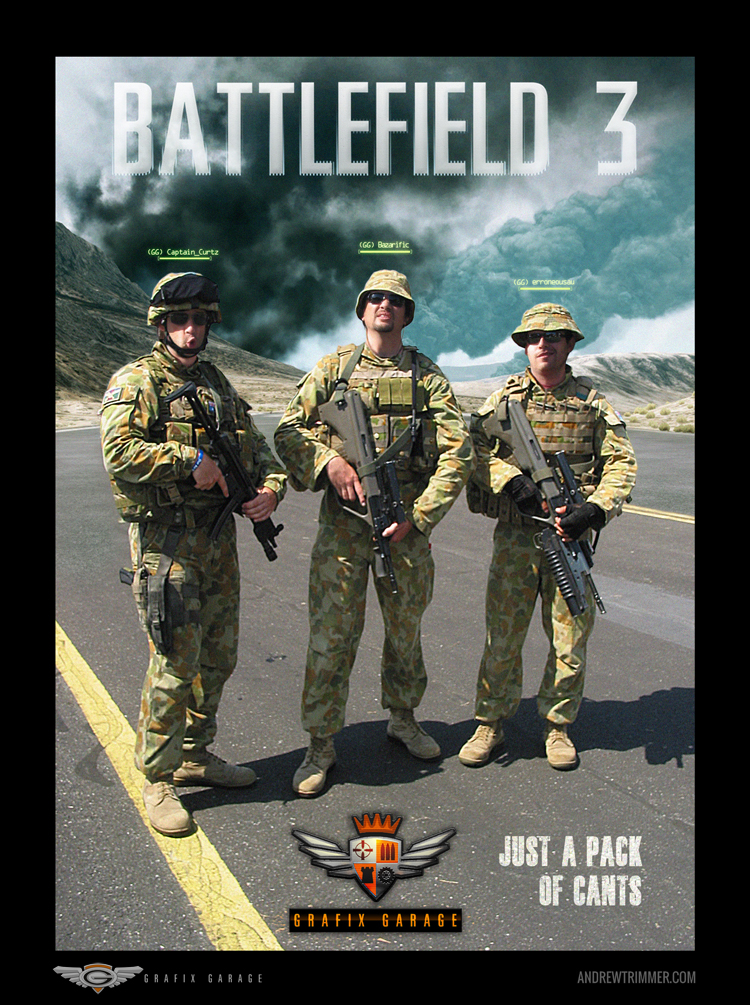
Step 4B.
Set the subtitle ‘Just a Pack of Can’ts’, and placed The Garage Platoon Badge at bottom designed by Craig Litchfield and colour matched to Grafix Garage logo. Added a few touches of highlights and shading to the Badge for more dimension.
GG Platoon Badge
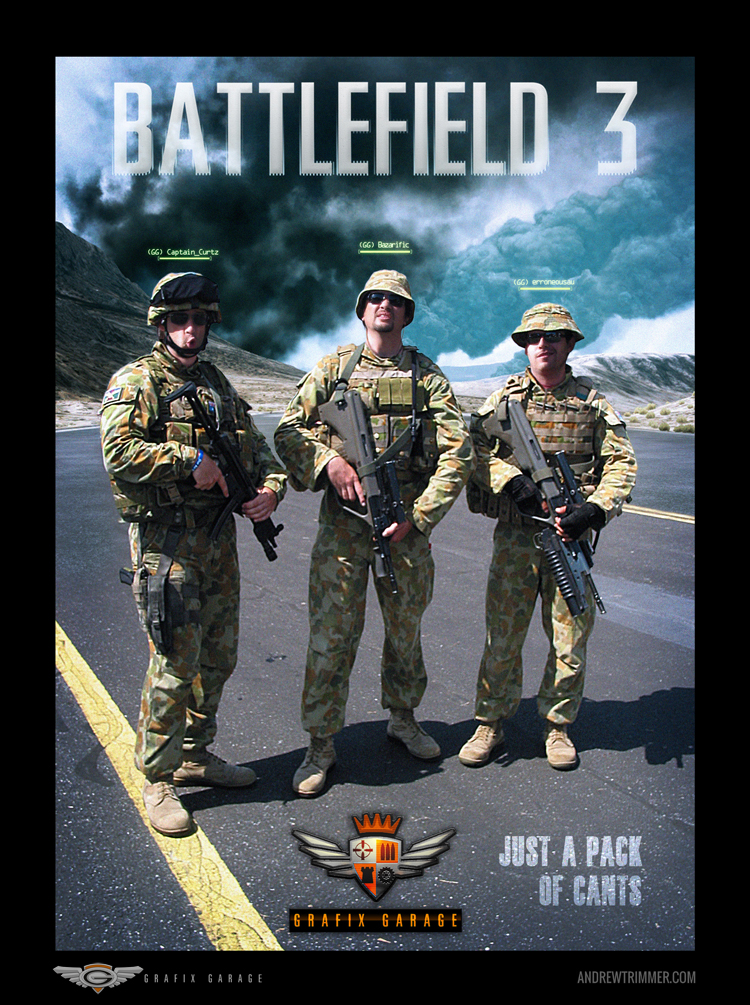
Step 4C.
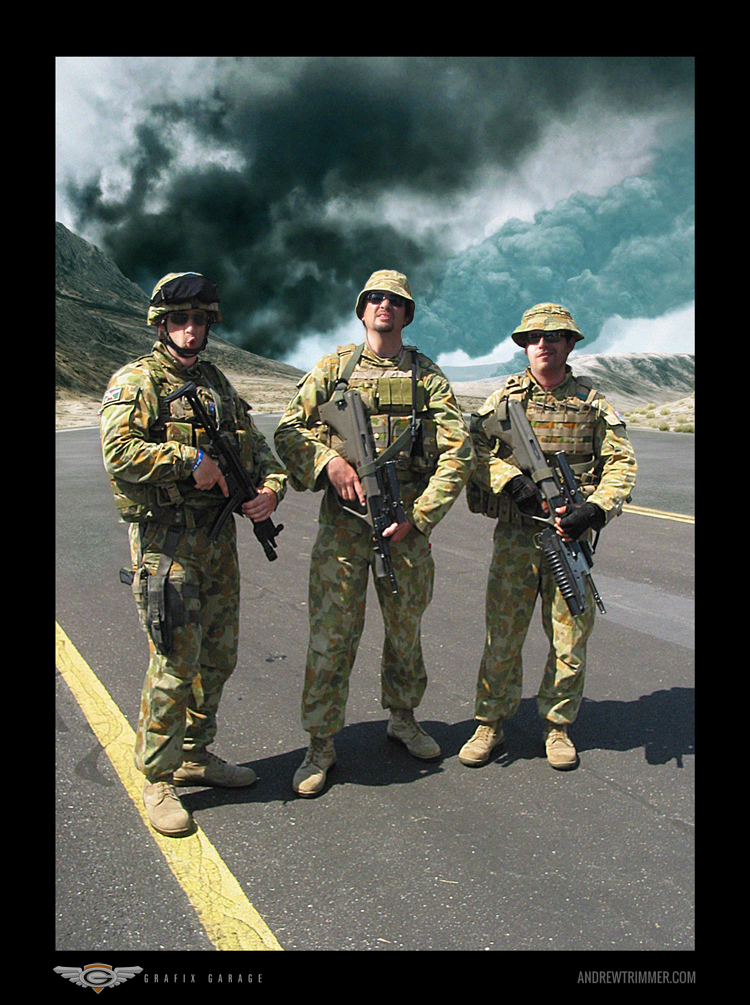
The final colour grade added as blue photo filter to match the cool tone of the in-game footage, plus an ‘under’ exposure edge halo added to draw in the eye to the center. An overall exposure levels adjustment was added to bring up the contrast.
Step 4D.
To unify all the separate photo elements that were shot and screen captured with varying resolutions and sharpness levels, a grain filter was applied to the whole image.
From The Blog
Investment
on 03 Oct, 2017 Posted By Andrew Trimmer
“If you’re not willing to invest in your art, why should anyone else?”
Read More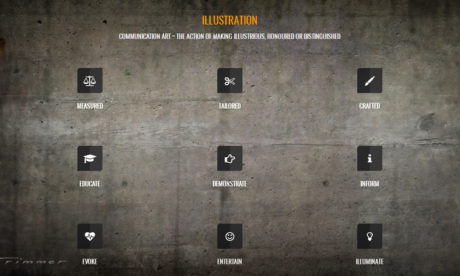
Communication Art
on 02 Oct, 2017 Posted By Andrew Trimmer
Illustration Tic-Tac-Toe Chart This field shows the various descriptive qualities of
Read More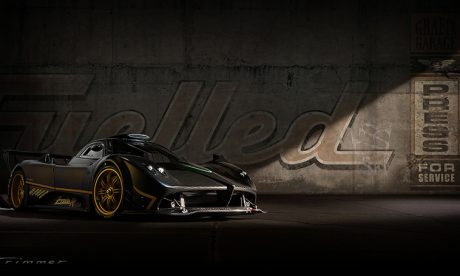
Zonda Model Photo Comp
on 09 Aug, 2016 Posted By Andrew Trimmer
PAGANI ZONDA DIE-CAST MODEL PHOTO COMP THIS SECOND MAKING-OF
Read More
Concerning Hobbits
on 09 Aug, 2016 Posted By Andrew Trimmer
“All that is gold does not glitter, not all those who wander are lost” J.R.R. Tolkien
Read More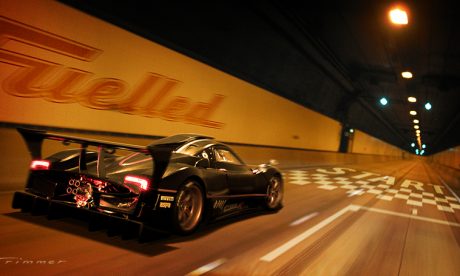
Zonda in Clem 7 Tunnel
on 09 Aug, 2016 Posted By Andrew Trimmer
ITALIAN SUPER CAR MAKES RECORD TIME THROUGH CLEM 7 TUNNEL IN BRISBANE
Read More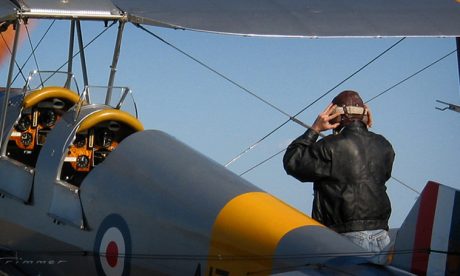
Build Your Dream
on 08 Aug, 2016 Posted By Andrew Trimmer
“If you don’t build your dream, someone else will hire you to help build theirs.”
Read More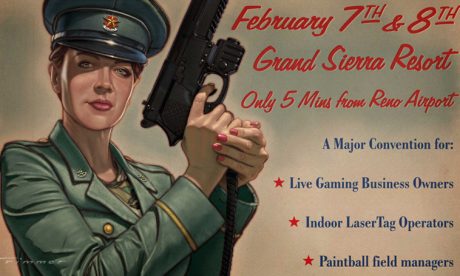
Battlefield Sports Cover
on 08 Aug, 2016 Posted By Andrew Trimmer
BATTLEFIELD SPORTS CONVENTION PROGRAM RECEIVES A 1940’S STYLE
Read More
Vocation as Vacation
on 06 Aug, 2016 Posted By Andrew Trimmer
“The Secret of Success is to make your Vocation Your Vacation” Mark Twain
Read More
‘Callings’
on 06 Aug, 2016 Posted By Andrew Trimmer
“It is devastating to feel trapped in a form of life where you feel utterly
Read More
Jedi Wisdom
on 06 Aug, 2016 Posted By Andrew Trimmer
“Do, or Do Not. There is no Try.” Jedi Master Yoda The Empire Strikes Back
Read More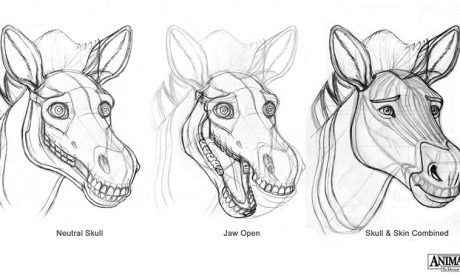
Anatomy Of Design
on 05 Aug, 2016 Posted By Andrew Trimmer
Behind The Scenes: The stages and drawings that go into the production of
Read More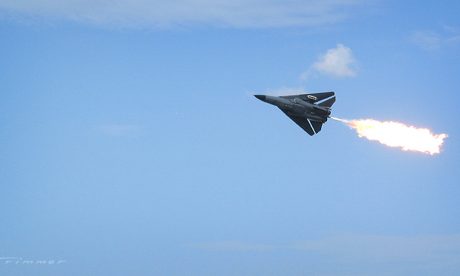
The Love of Deadlines
on 05 Aug, 2016 Posted By Andrew Trimmer
“I love deadlines. I love the whooshing noise they make as they go by.”
Read More
Old Ways, New Paths
on 05 Aug, 2016 Posted By Andrew Trimmer
As we age in years and gain life experience as artists, the dawning realisation whispers
Read More