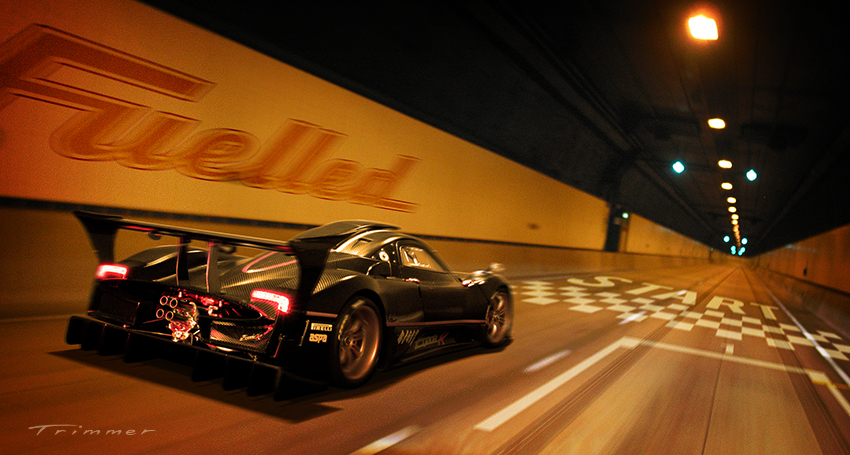
ITALIAN SUPER CAR MAKES RECORD TIME THROUGH CLEM 7 TUNNEL IN BRISBANE
DESIGN CAMPAIGN QUANDARY…
HOW DO YOU GET ACCESS TO AN ITALIAN THOROUGHBRED RACE-TRACK-ONLY SUPER CAR WORTH $2.93M US, DRIVE IT FULL NOISE IN THE WEE SMALL HOURS THROUGH A BRISBANE TOLL TUNNEL, LOSE YOUR HAT, AND COP A $450 SPEEDING FINE WHILE SHOOTING PHOTOGRAPHS FOR A WEB SITE? HERE’S HOW WE DID IT…
Um, that’s kinda scary in a psychotic crazy way, and frankly highly unlikely to be seen in a Brisbane toll road tunnel, let alone any street in the world, as it’s so insane; its specs infringe on noise limit restrictions even on specially designated race tracks. A spine tingling, heart and loin throbbingly amazing thing to witness for sure; and hear especially, since it demon howls out an ear drum splitting 126db, which is equivalent to putting your head up the arse end of an F1 race car on take off, and that’s on an open air race track mind you, imagine this in a tunnel; hello permanent tinnitus…
But really, it ain’t happening. But we can dream can’t we? So, what do we do to get a shot like this when you’ve got a slightly leaner budget?
Use a die-cast model, an LED torch, some fairy lights, a laser pointer, white and black cardboard, masking tape, a dusting brush, and a Canon 650D mounted on a tripod.
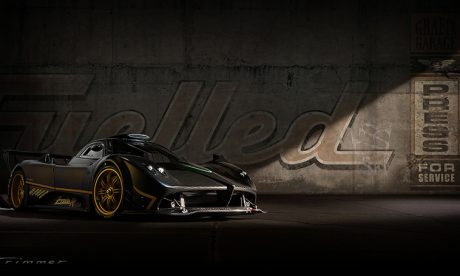
INTRODUCING AUTO ART’S PAGANI ZONDA R 1:18TH SCALE SIGNATURE SERIES CARBON FIBRE PATTERN DIE CAST REPLICA – RRP US $340
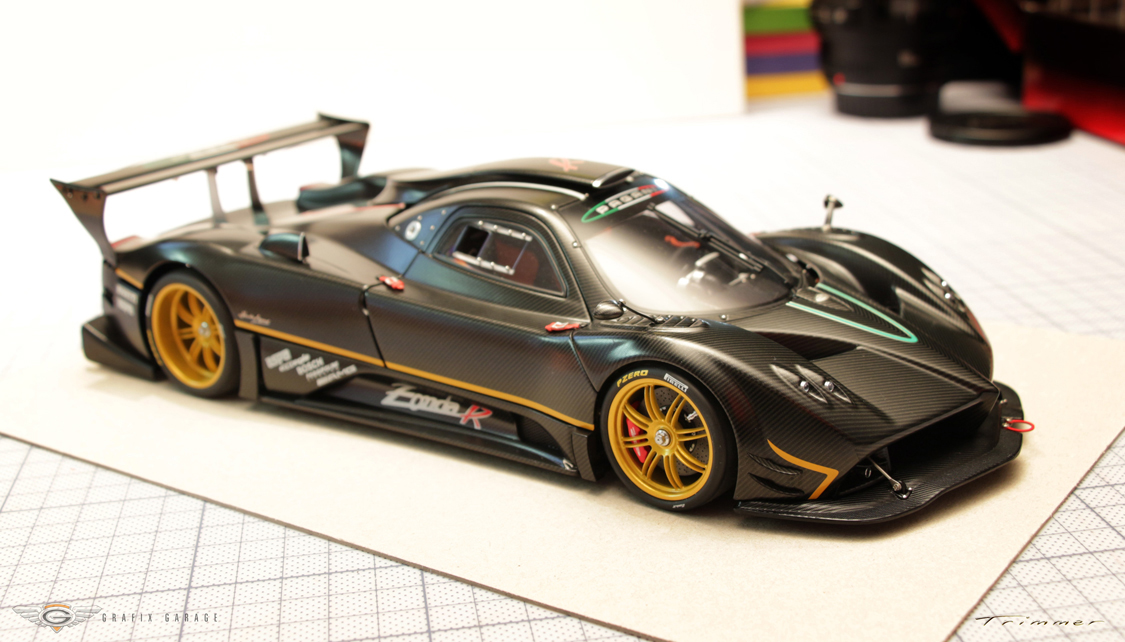
This is the top of the line scale die cast model type of this vehicle available, and it’s seems pricey, but there”ll be an obvious payback advantage to this a little later; and it’s because the detail fidelity in this model is really amazing. It’s this scale super-detail that reads convincingly at a very close eye ball distance that allows the camera to pick up its fine workmanship, helping in great measure with reduced photo retouching manipulation time, simply because, all the detail is already there. This kit had a limited run edition of 1050 units, and that’s a lot of labour already spent.
Here’s the Geek Specs on the model itself from the manufacturer Auto Art;
Total number of zinc die-cast parts : 6
Total number of photo-etched plates : 69
Total number of metal parts : 323
Total number of plastic parts : 226
Total number of chrome-plated parts : 34
Total number of parts : 658
Number of free-hand spray painting : 136
Number of mask spray painting : 64
Number of hits of tampon printing : 165
Weight : 2 kg
THE PROCESS
So, with the techno intros done, on with the process. After a long term working collaboration with fellow designer and friend Craig Litchfield, we share a keen geek-boy side interest, apart from our day jobs as graphic designer and illustrator, in creating photo compositional “what-if moments” by shooting scale die cast models of dream cars, and Photo Shopping them into real world locales. For this assignment Craig wanted to create a series of feature slide images for his newly developed WordPress site called Fuelled; a blog for his graphic design business Grafix Garage. External link to this project at Grafix Garage – www.grafixgarage.com
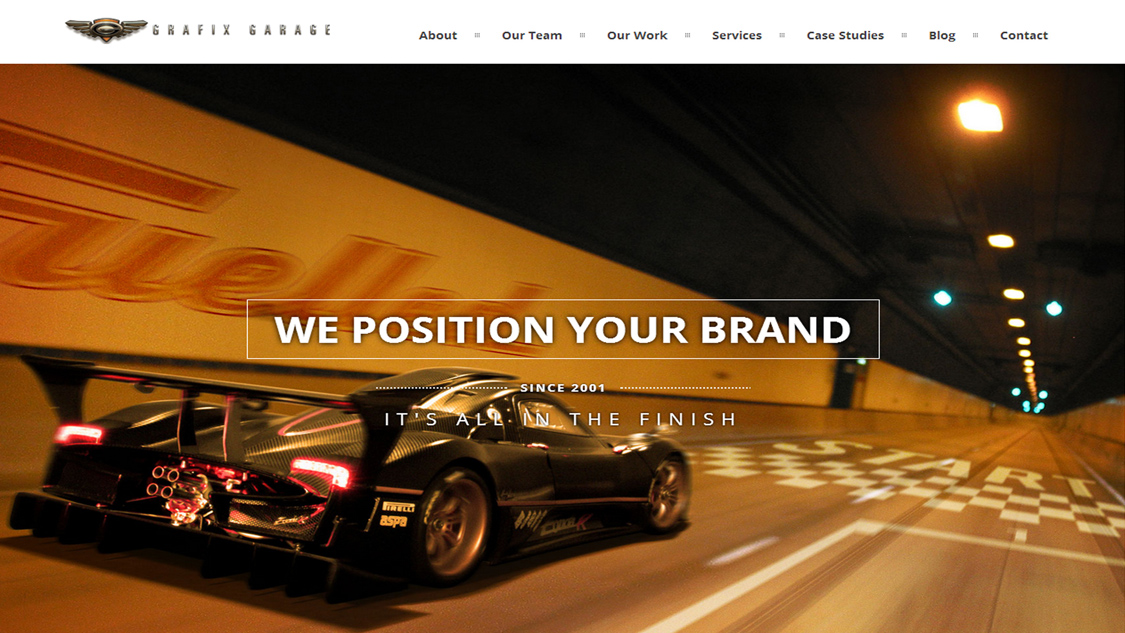
IMAGE COLLECTION
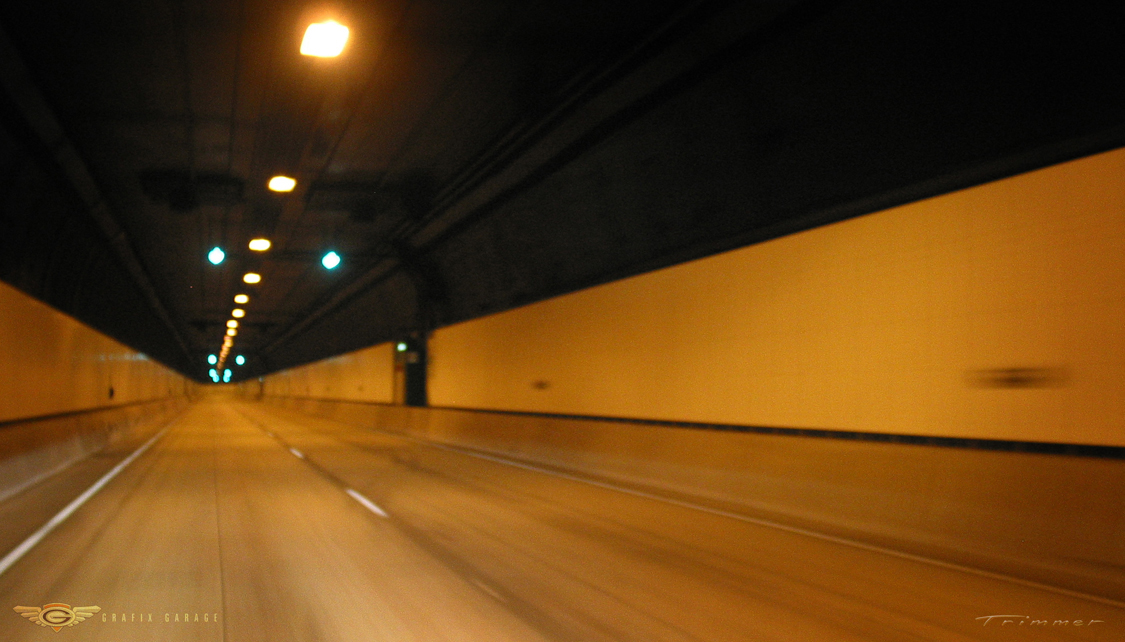
The background plates were photographed from Craig’s trusty studio steed, a silver 2001 Honda S 2000 convertible doubling as the camera car. I was holding the camera out over the windscreen with the top down, trying to capture some nice camera speed blur, consequently loosing my favorite Grafix Garage embroidered cap! And yes, by the way, Craig was driving while I got the shots, because that’s just a really stupid thing to attempt while operating heavy machinery alone, and he later copped the $450 fine. We were doing 95 kph in a 60 zone, pfft, bloody toll speed camera bollocks, even though the 45 kph reduced zone wasn’t even signed properly in the Clem 7 Tunnel at approx. 8:15 pm on a Sunday evening and no traffic.
CONTROLLED CONDITIONS
After reviewing the tunnel shots, we needed to shoot the car model in a studio environment under controlled lighting conditions. To achieve the most authentic and convincing model shots, and make it appear as though the model is actually grounded in its background location, it’s usually best practice to shoot the model at the location under the same lighting conditions roughly the same time of day.
In this case, there are some logistical and location limitations to achieving the model location work we aspire to. Although it’s technically feasible to drive an open top ute through the tunnel, while securing the camera and positioning the model on a raised platform in the back of the tray, shooting away under the passing overhead ceiling lights while sitting in the tray with the set-up, we felt the risks were too high taking into account a constant police camera presence in the tunnel, adding in the buffeting effects of wind turbulence and car movement on the model, camera, and operator.
If planning to shoot a motion sequence, then one might consider a “Myth Busters” type camera rig set up, requiring some safety harness and hi-vis vest work, under the cover of darkness at 3 AM in the morning, with a support vehicle in tow. These are the usual challenging logistical limitations that are met on large budget film shoots with production staff entourages with council approved safety permits, police escorts and road closures any day in a big city; but that’s another story.
Not having that access we decided on the safest and easiest path and do it all on the boardroom table with the die-cast model, an LED torch, some fairy lights, a laser pointer, white and black cardboard, masking tape, a dusting brush, and a Canon 650D mounted on a tripod.
CORRECT EXPOSURE
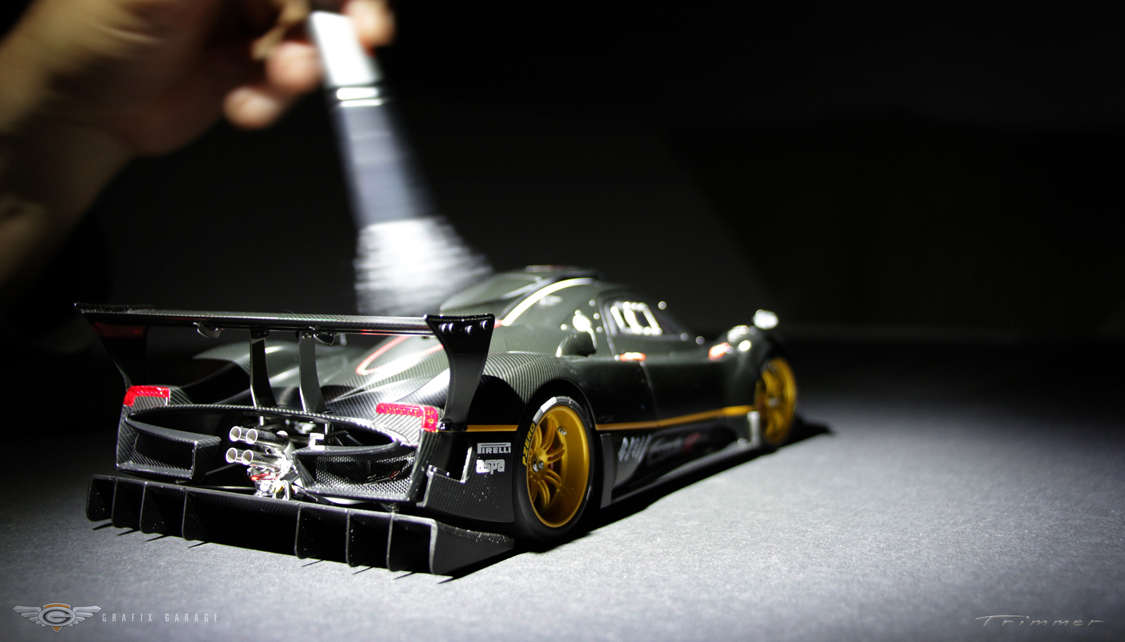
The key to getting scale models to look larger than they are is balancing the depth of field with varying light sources. Suffice to say, it’s really critical to get the maximum deep depth of field without any blurring across the entire surface of the model, as the car is only about 20 cm long. Using the Canon EOS 650D on a tripod, the image file compression was set to normal JPEG compression (as this image was only to be used on web sites) shooting the model on a setting of 50 ISO to minimise digital grain size, setting the aperture narrow at around f 16-22, and focus on the model about mid way along the body. Exposure level readings are taken through the lens, and as the light levels for each pass are quite dim, and the aperture is very narrow, we needed to set the exposure time long; sometimes between 8 to 10 seconds depending on the registered meter reading. The final effect is dramatic, as the lens aperture, low ISO setting, and long exposure time eliminates most blurring along and around the farther edges of the model, and fine details are usually crisp.
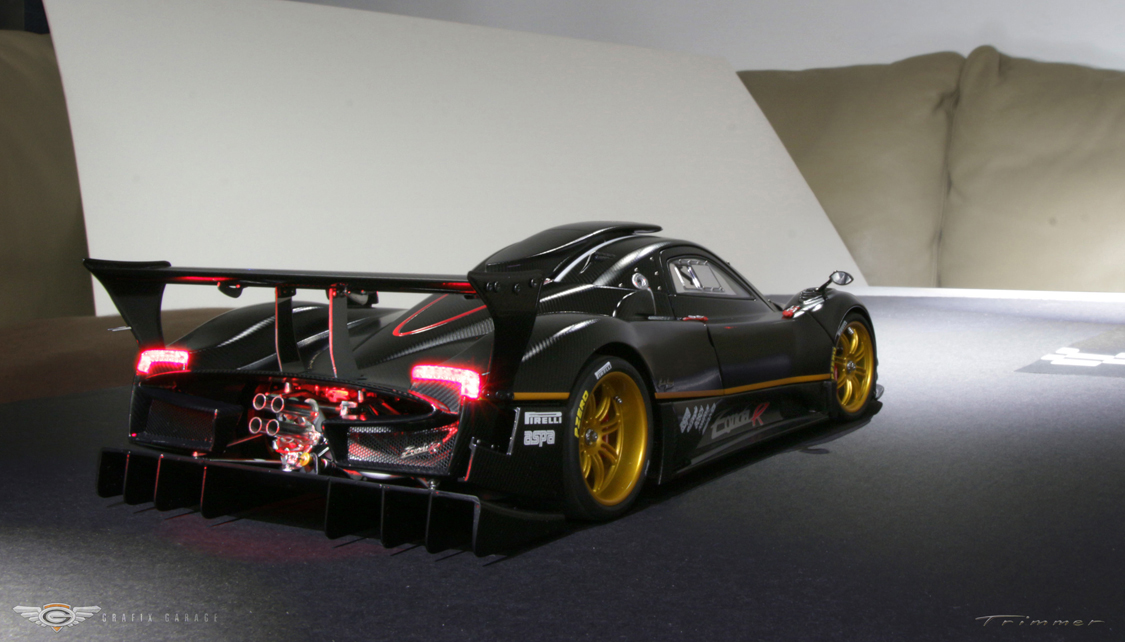
We then shoot multiple passes of light exposures on the car sequentially, that is, we “paint” the car with light from the LED torch from one direction at a time, or in some cases off a reflective bounce board and later comp the best set of exposures together in Photoshop to create a studio lighting simulation. On two passes the red tail lights were illuminated by shining the laser pointer directly onto the plastic, creating an effective inner glow. There is also an exposure with lane lines reflected into the side doors by placing a printed graphic of the starting grid on the table next to the Zonda to pick up the subtle sheen of the white lines.
COMPOSITING
From here the best selection of images of the car are placed into a working image Photoshop canvas set to 180 dpi at monitor screen size 67.73 cm wide by 41.28 cm high; 4800 by 2985 pixels. The image will eventually be output for web at 72 dpi to the same physical monitor size, but its pixel dimensions revert to 1920 by 1120 pixels. This way maximum fidelity can be achieved on the working image with the resolution as close as possible to the original shots.
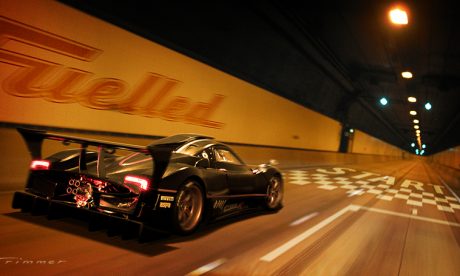
The background tunnel image is placed in and given a slight “dutch tilt” for composition dynamics, then a single generic Zonda image is placed in as a starting positional. The Zonda image is dealt with separately in another file, and all the best lighting shots are dragged in over the top of each other and alignments are made in registration. In this case there were 7 different images comped over each other, with the darkest image on the bottom of the stack, and then each one over it is set to a “Lighten” blending mode, which allows all the lightest pixels to show through and the darkest become transparent.
Once all the alignment of each layer is correct, they are linked to each other so none get shifted, and placed in a Grouped Layer folder. The entire outline is selected with the pen tool. A selection is made and a Layer Mask is applied to the Group folder creating a non destructive deep etched outline.
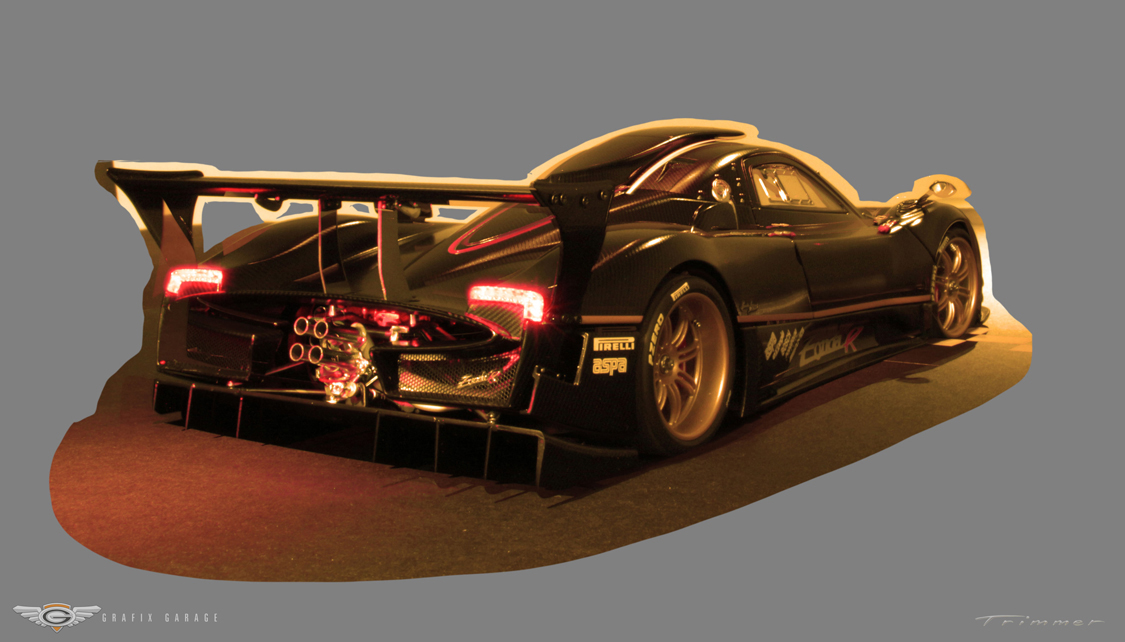
This layer stack Group of the outlined Zonda is dragged back into the background canvas image, and further compositional tweaking carries on. Further hand drawn refinements are made to the outline selection layer mask to ensure all pixels are removed from the floating Zonda and its outline details are all visible. The shadow on the road under the car is separated, further refined and adjustments made to opacity. Copies of the static wheels were cut out and radial motion blurs applied to give them speed blur.
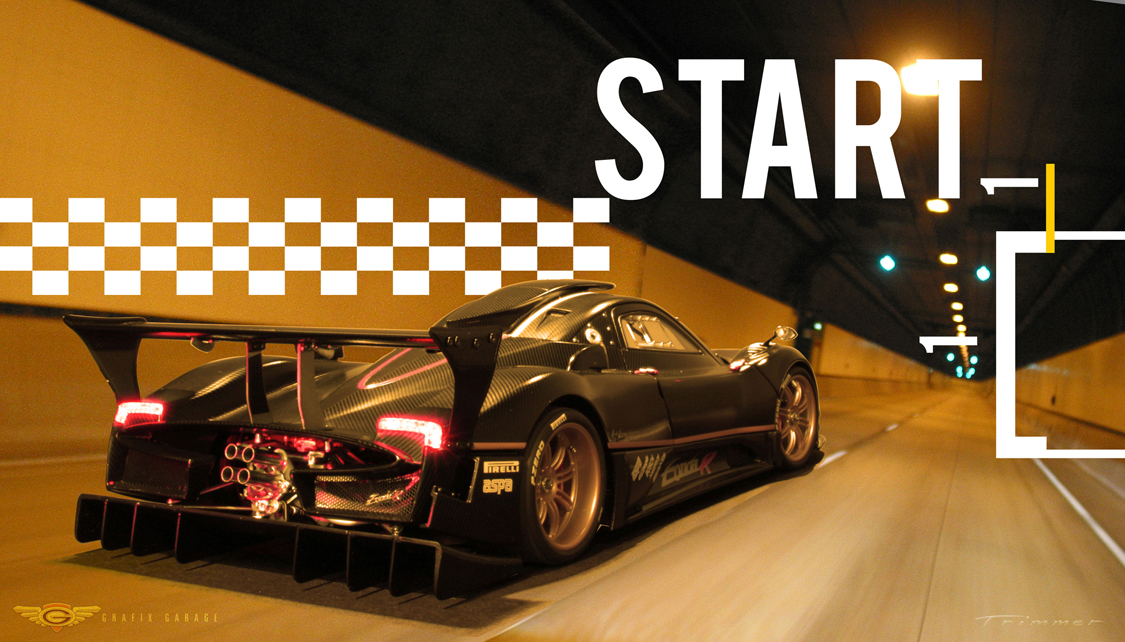
The signage elements along the tunnel’s left hand wall of the Fuelled Logo, and the start grid on the road to the right are separate EPS elements exported from Corel Draw X, and re-imported back into Photoshop. Using transform and warp perspective tools these graphic elements were dragged out and laid down into the correct perspective to match the background road wall receding away. Motion blur filters are added, and opacity is adjusted, followed by further positional fiddling.
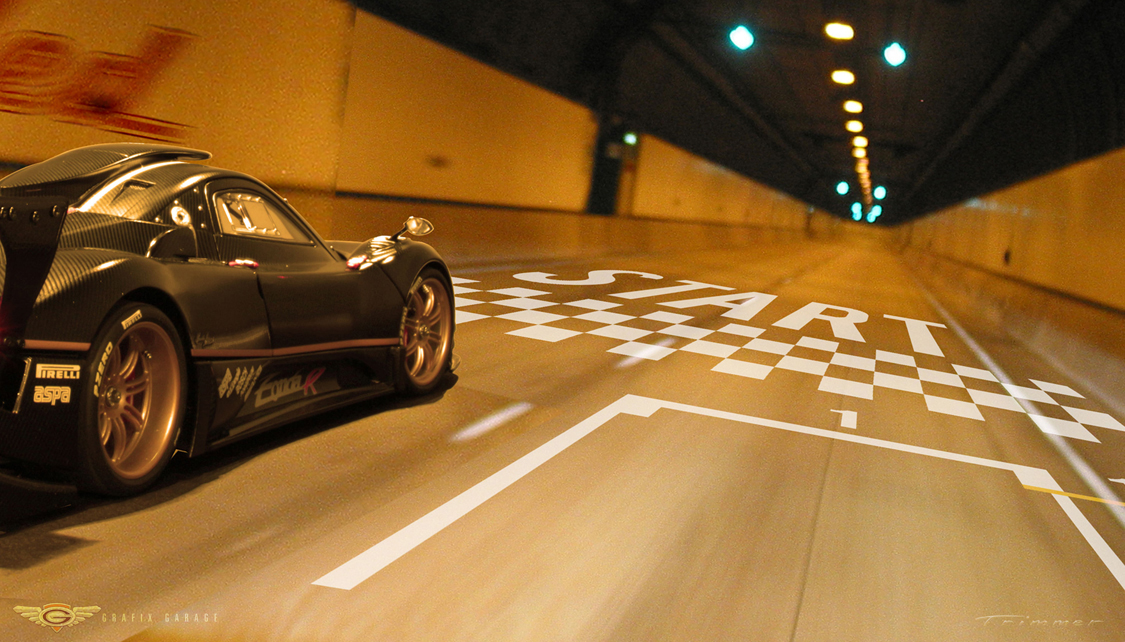
Once all the parts are in place, singular colour balance corrections are done to the Zonda to match the tunnel yellowish xenon lighting. A bit more motion blur is applied to a flattened copy of the whole car, and then areas blanked out via a layer mask. The missing road and ceiling of the tunnel were patched over with repeated copied sections to fill the gaps.
A final touch is to unify the whole image as the Zonda ended up sharper than the background tunnel image, and there appeared a slight discrepancy with the pixel fidelity between tunnel and car. A new merged layer of the car, the signage and the road start grid were passed through a further grain filter to match and adjusted to suit.
There were some effects experimented with in the final layout, including tail light speed streaks and back fire flame. Although interesting as an optional choice to experiment with, they didn’t add to the immediacy of the scenario. They were discarded eventually as they seemed extraneous add-ons that distracted from the action of the shot. Finally, the tyre tread burn out tracks were added from a found image, and laid down in perspective into the distance.
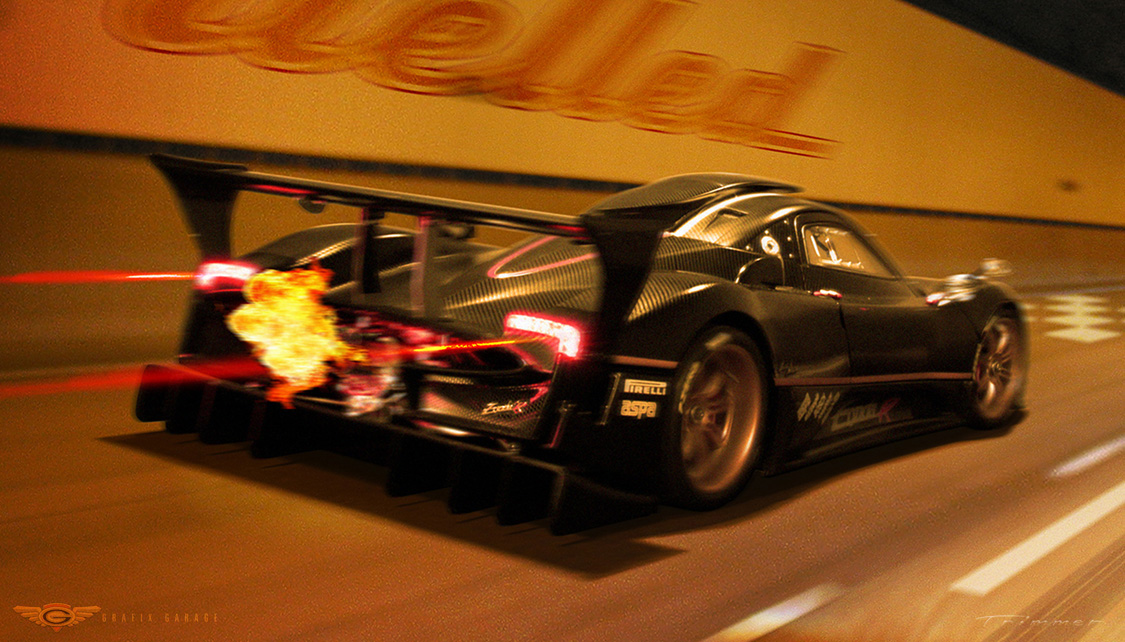
Lastly, a levels adjustment layer was added at the top of the layer stack, and a darkening halo was painted around the outside circumference of the frame to focus the eye into the center. Once finally settled with all the elements, the stack is flattened and saved at 72dpi to be uploaded onto the Fuelled WordPress Blog. Voila!
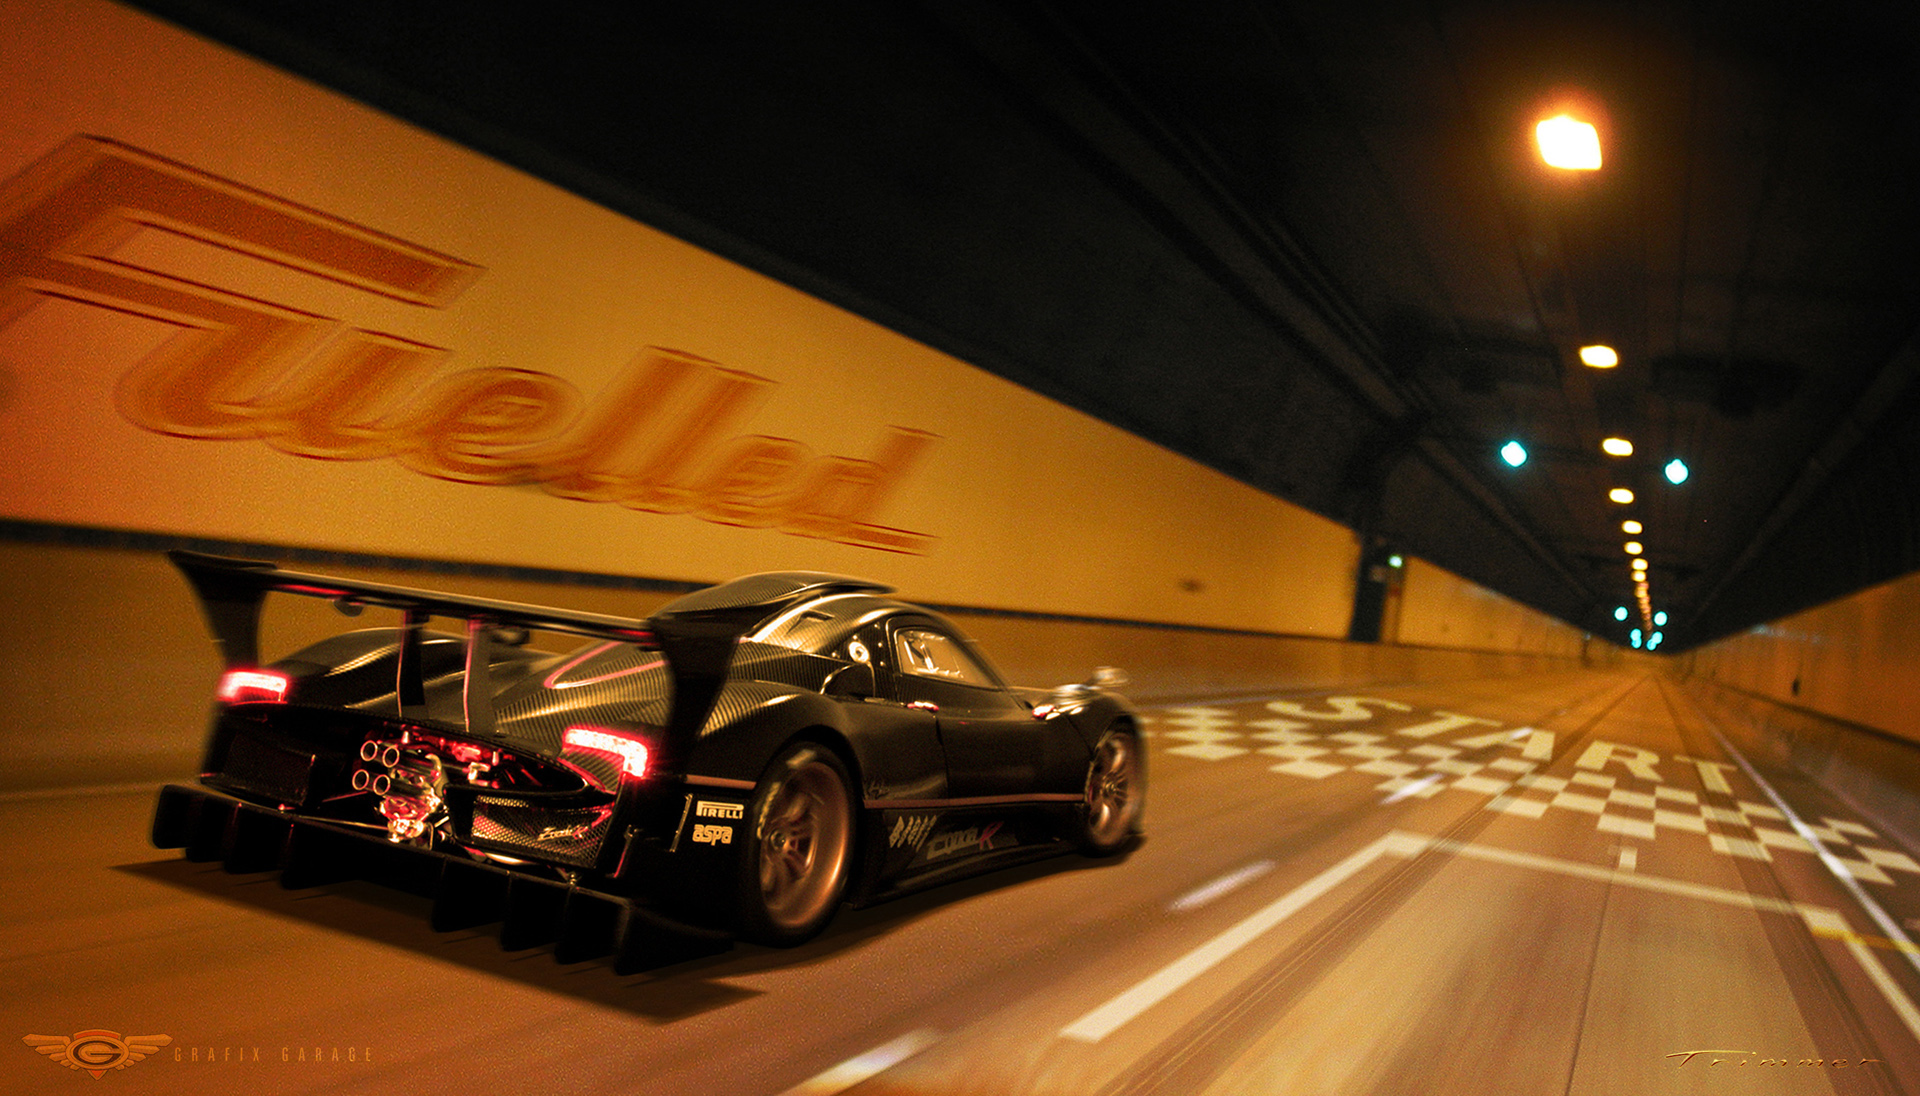
Months of thinking and experimenting amounted to roughly a week and a half’s full time work. We’ve tried many variations of this experimental conceptual photo composition of shooting model cars over live action locations.
